Run Your Team's Server From Your Desktop
The udctl desktop app has a full backend inside it. Install it and your computer is already a server: it listens on localhost:24816 and keeps tasks, notes and ledgers in a SQLite file on your own disk. Add a license and that same server becomes a multi-user team backend. Add a Cloudflare Tunnel and your phone, your laptop and your teammates can reach it from anywhere. No VPS, no public IP, no router port forwarding.
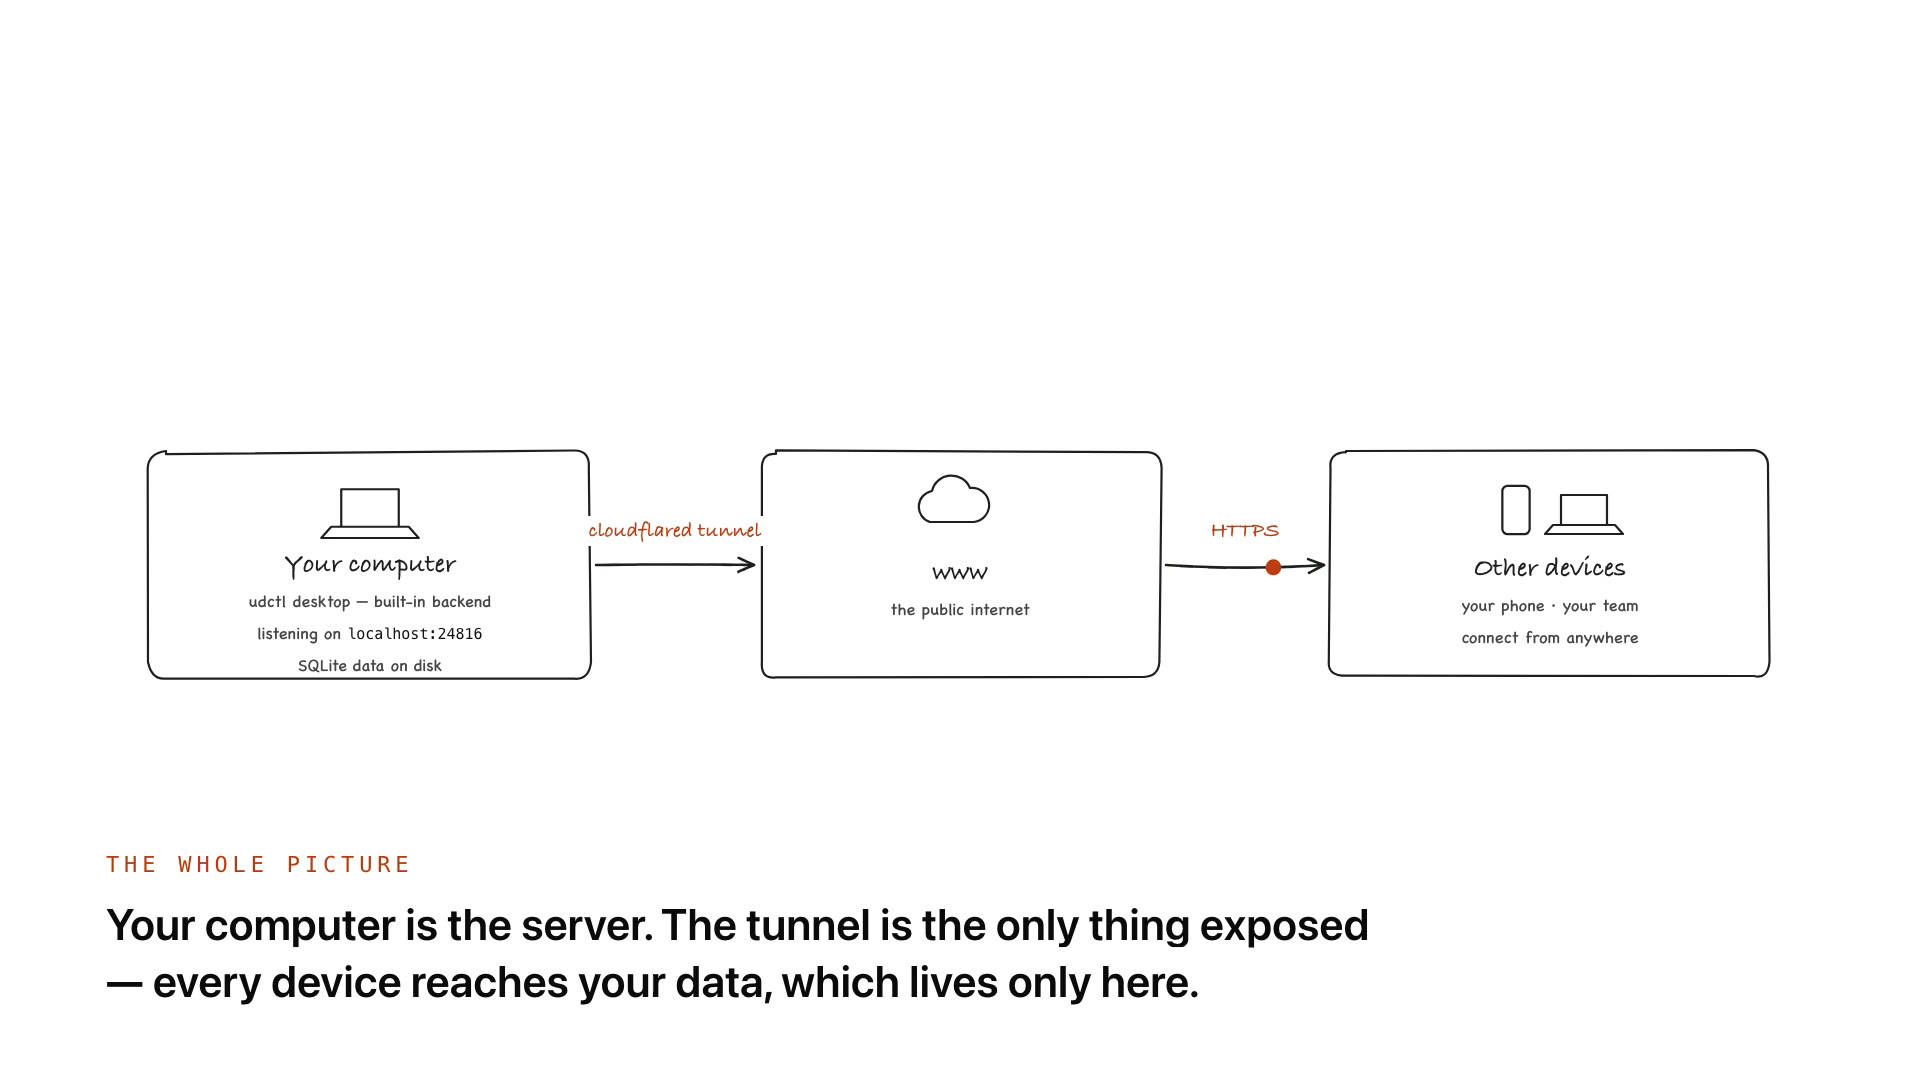
You do not need to know Docker either. Most self-hosting guides start with a container, environment variables and a reverse proxy. Here the server is a desktop app you install like any other, and it runs as soon as you open it. The terminal commands in this post are all for Cloudflare's tunnel, not for the server.
The 78-second video below walks the whole path. The rest of this post is the same path as commands you can copy.
Watch the 78-second walkthrough on YouTube
Step 1: Install the desktop app
Download it from udctl.com/download: macOS (Apple Silicon and Intel), Windows x64, or Linux x64 AppImage. The desktop app is not a web page in a window. It ships the Go backend, and the backend starts with the app. There is no Docker image to pull and no database to set up. Once the app is installed, the server is installed.
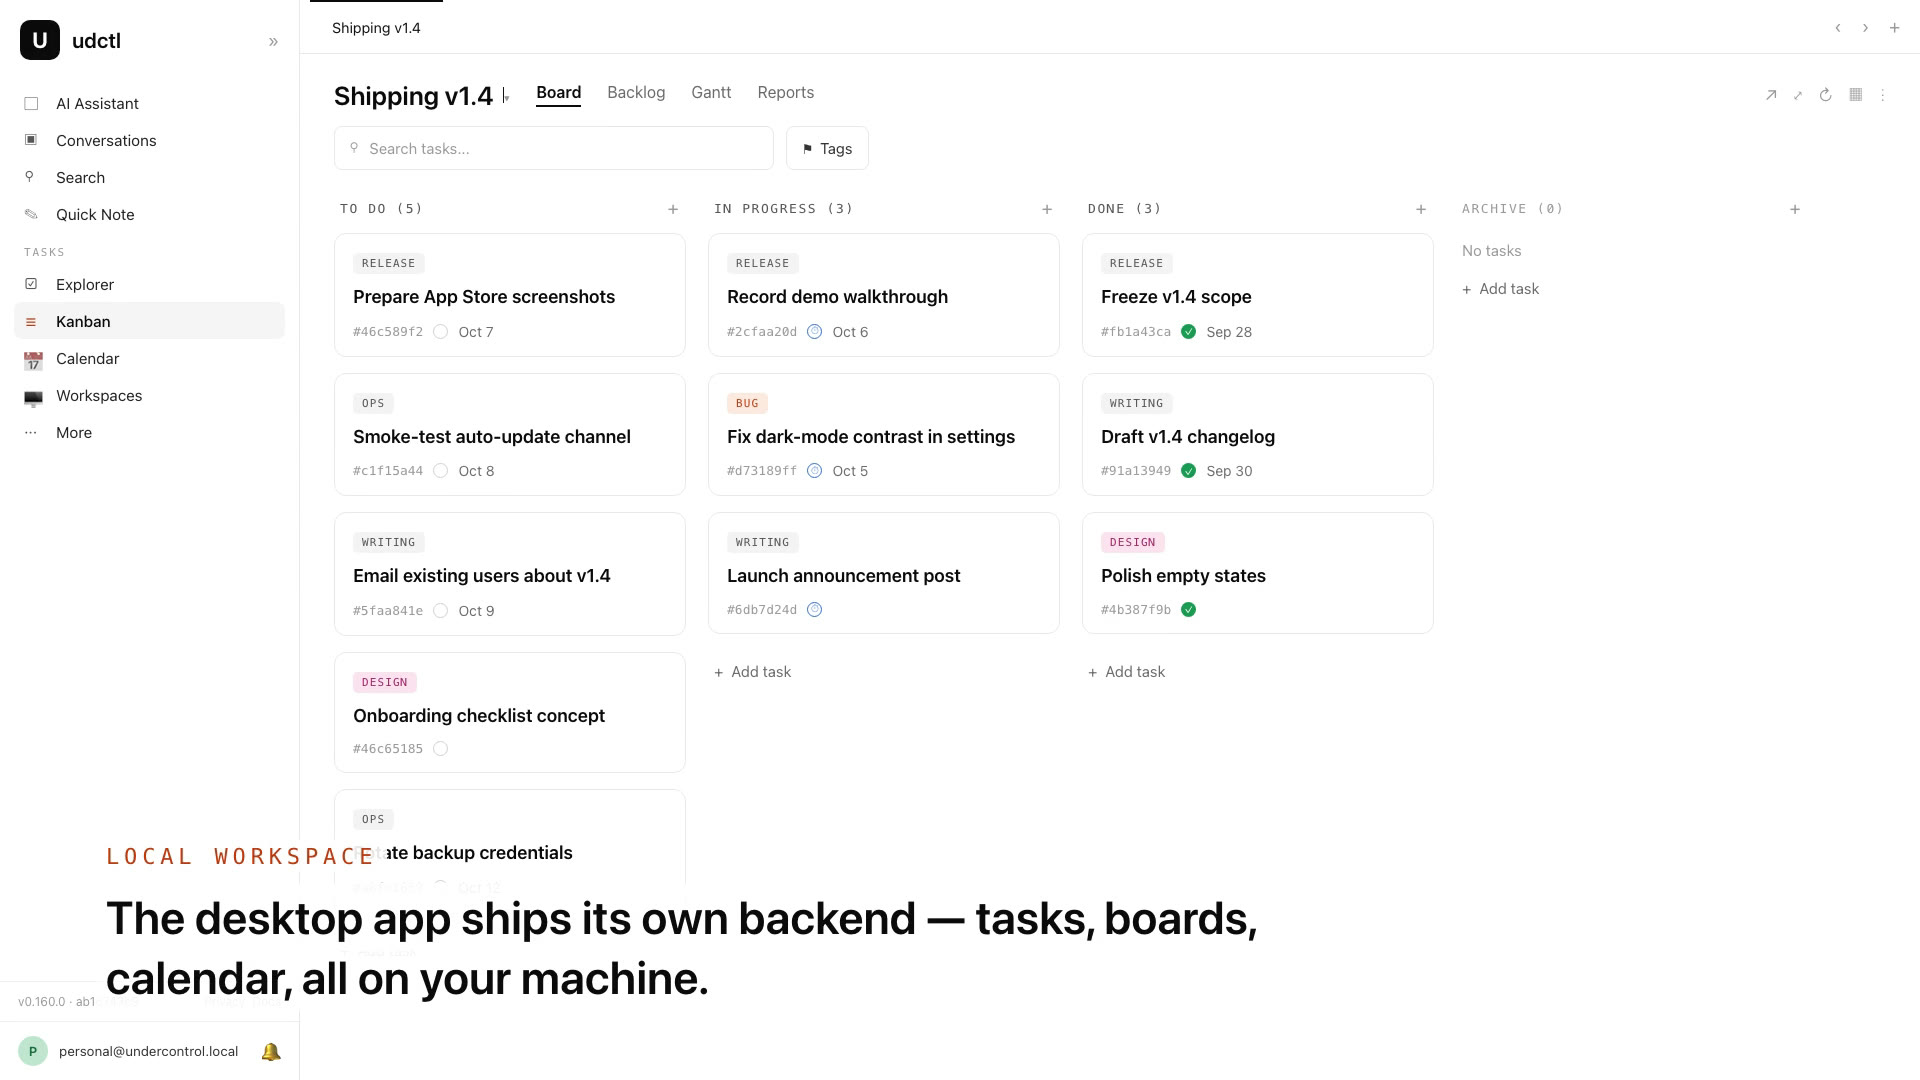
Check that it is up:
curl http://localhost:24816/health
# {"status":"healthy", ...}
24816 is a fixed port. If something else already holds it, the app shows the backend log instead of quietly moving to another port, so a tunnel pointed at 24816 never ends up talking to nothing. (Older guides, including our July post, used 8888. That is gone.)
Used alone, this is the Personal tier: one user, free, no license key. The app signs you in automatically with a random password generated for this install. You can see it, and reset it, on your profile page under account details; the CLI and the phone use those same credentials.
Step 2: Activate a license to make it a team backend
Skip this step if the server is only for you.
For a team, open your profile page, go to System & Language → License, and fill in four fields:
- License token
- Host secret
- Admin email, which becomes your admin login
- Admin password
Click Activate. The backend restarts, which takes a few seconds, and the License section shows tier Pro. On the first activation the data already on this machine moves to the admin account you just entered, and the built-in personal account is removed. Nothing is lost: your tasks, notes and records change owner, not content. The form warns you before you click, because this step happens once and cannot be undone.
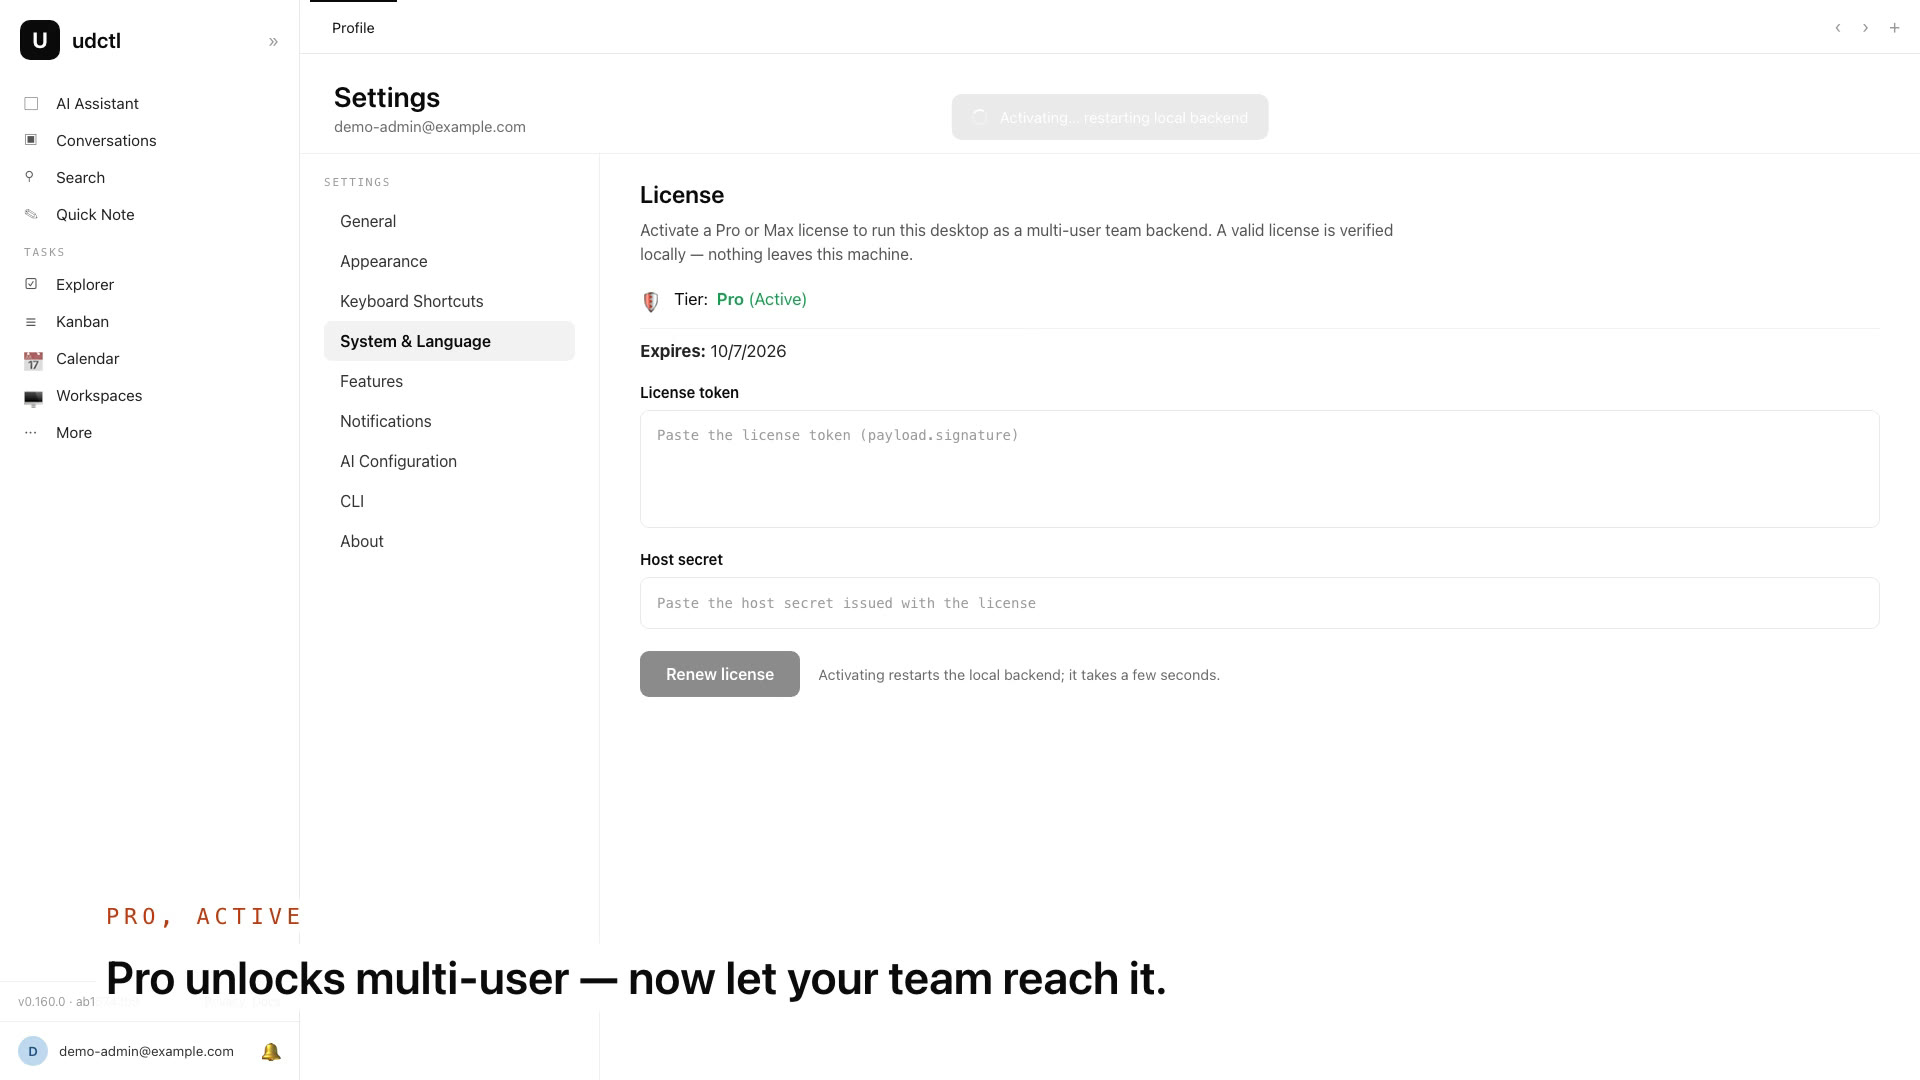
From here you are a server admin. Create accounts for teammates under Admin → Access → Users → Create User.
Where the license comes from: per the pricing page, a team of up to 3 people is free, with one free license for the team; contact us to get it. Larger teams are priced by band: US$49/month up to 20 people, US$149/month for any size.
Step 3: Put it on the internet with one command
Cloudflare Tunnel works by reverse connection: cloudflared on your computer dials out to Cloudflare's edge, and requests from outside come back through that connection. Because the connection goes out from your machine, you need no public IP and you never touch the router.
Install cloudflared:
# macOS
brew install cloudflared

# Windows
winget install Cloudflare.cloudflared

# Linux (Debian/Ubuntu): add the repo from https://pkg.cloudflare.com first
sudo apt install cloudflared
Then:
cloudflared tunnel --url http://localhost:24816
A few seconds later it prints a random https://<something>.trycloudflare.com address. That is your public endpoint, with HTTPS, and it needs no Cloudflare account. Check it from your phone on cellular data (Wi-Fi off, so you know the request really comes in from outside): open https://<something>.trycloudflare.com/health and look for healthy.
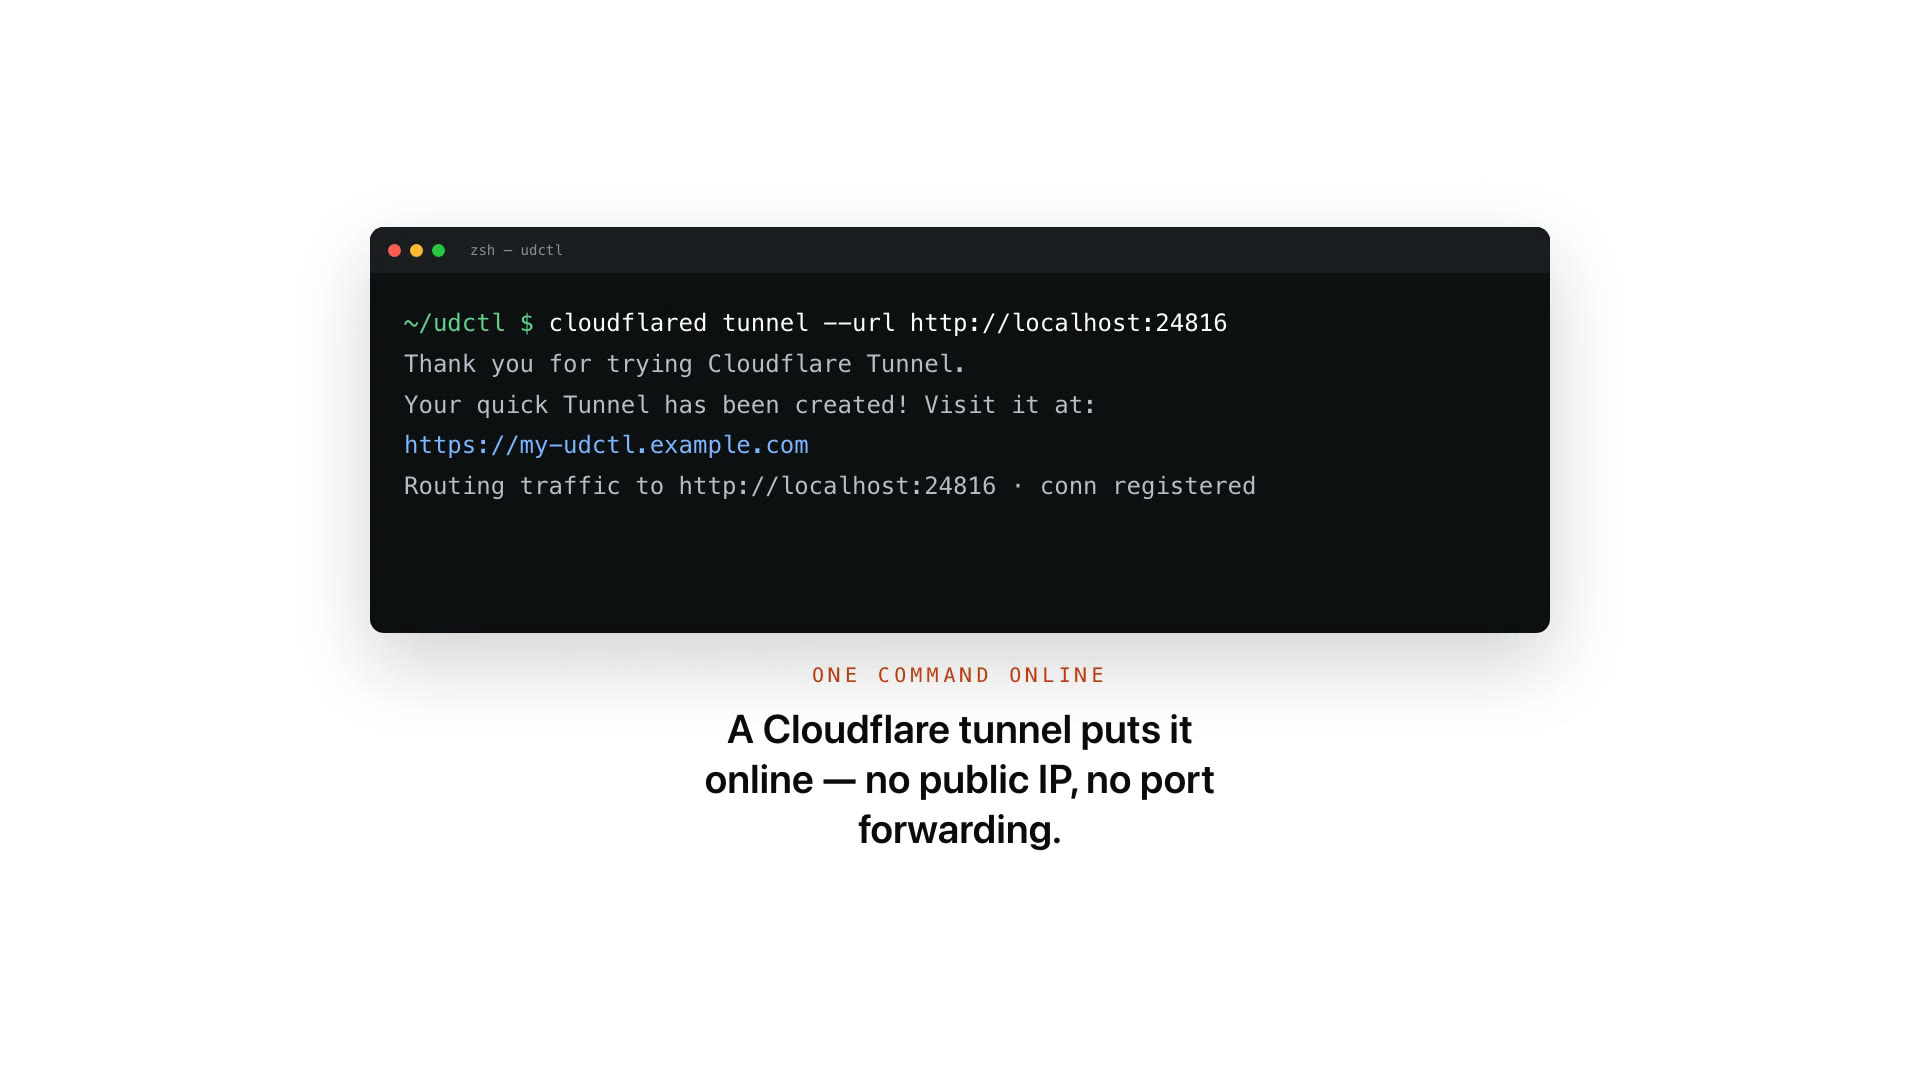
Anyone who has that URL reaches your sign-in page, so give the admin account a real password before you share it.
For daily use: a fixed address
The quick tunnel's hostname changes every time cloudflared restarts. For a server your team relies on, use a named tunnel. It needs a free Cloudflare account and a domain on Cloudflare.
cloudflared tunnel login
cloudflared tunnel create ud
cloudflared tunnel route dns ud ud.example.com
~/.cloudflared/config.yml:
tunnel: ud
credentials-file: /Users/you/.cloudflared/<tunnel-id>.json

ingress:
  - hostname: ud.example.com
    service: http://localhost:24816
  - service: http_status:404
cloudflared tunnel run ud        # run it by hand first
sudo cloudflared service install # then install it as a service that starts at boot
Then tell the desktop app its public address: profile page, System & Language → Public access address, enter https://ud.example.com, Save. The backend restarts and builds file download links from that address, so attachments open on remote devices too. Without it, remote clients get localhost links for attachments. A trycloudflare address is fine for a demo but not here, because it changes on every run and old file links break.
Last thing: stop the computer from going to sleep in your power settings. It is a server now.
Step 4: Connect your phone
The iOS app is in public beta on TestFlight. Android installs from the APK on the download page.
On the iOS sign-in screen, find the Backend section and tap Change. Enter your public address with /api/v1 at the end:
https://ud.example.com/api/v1
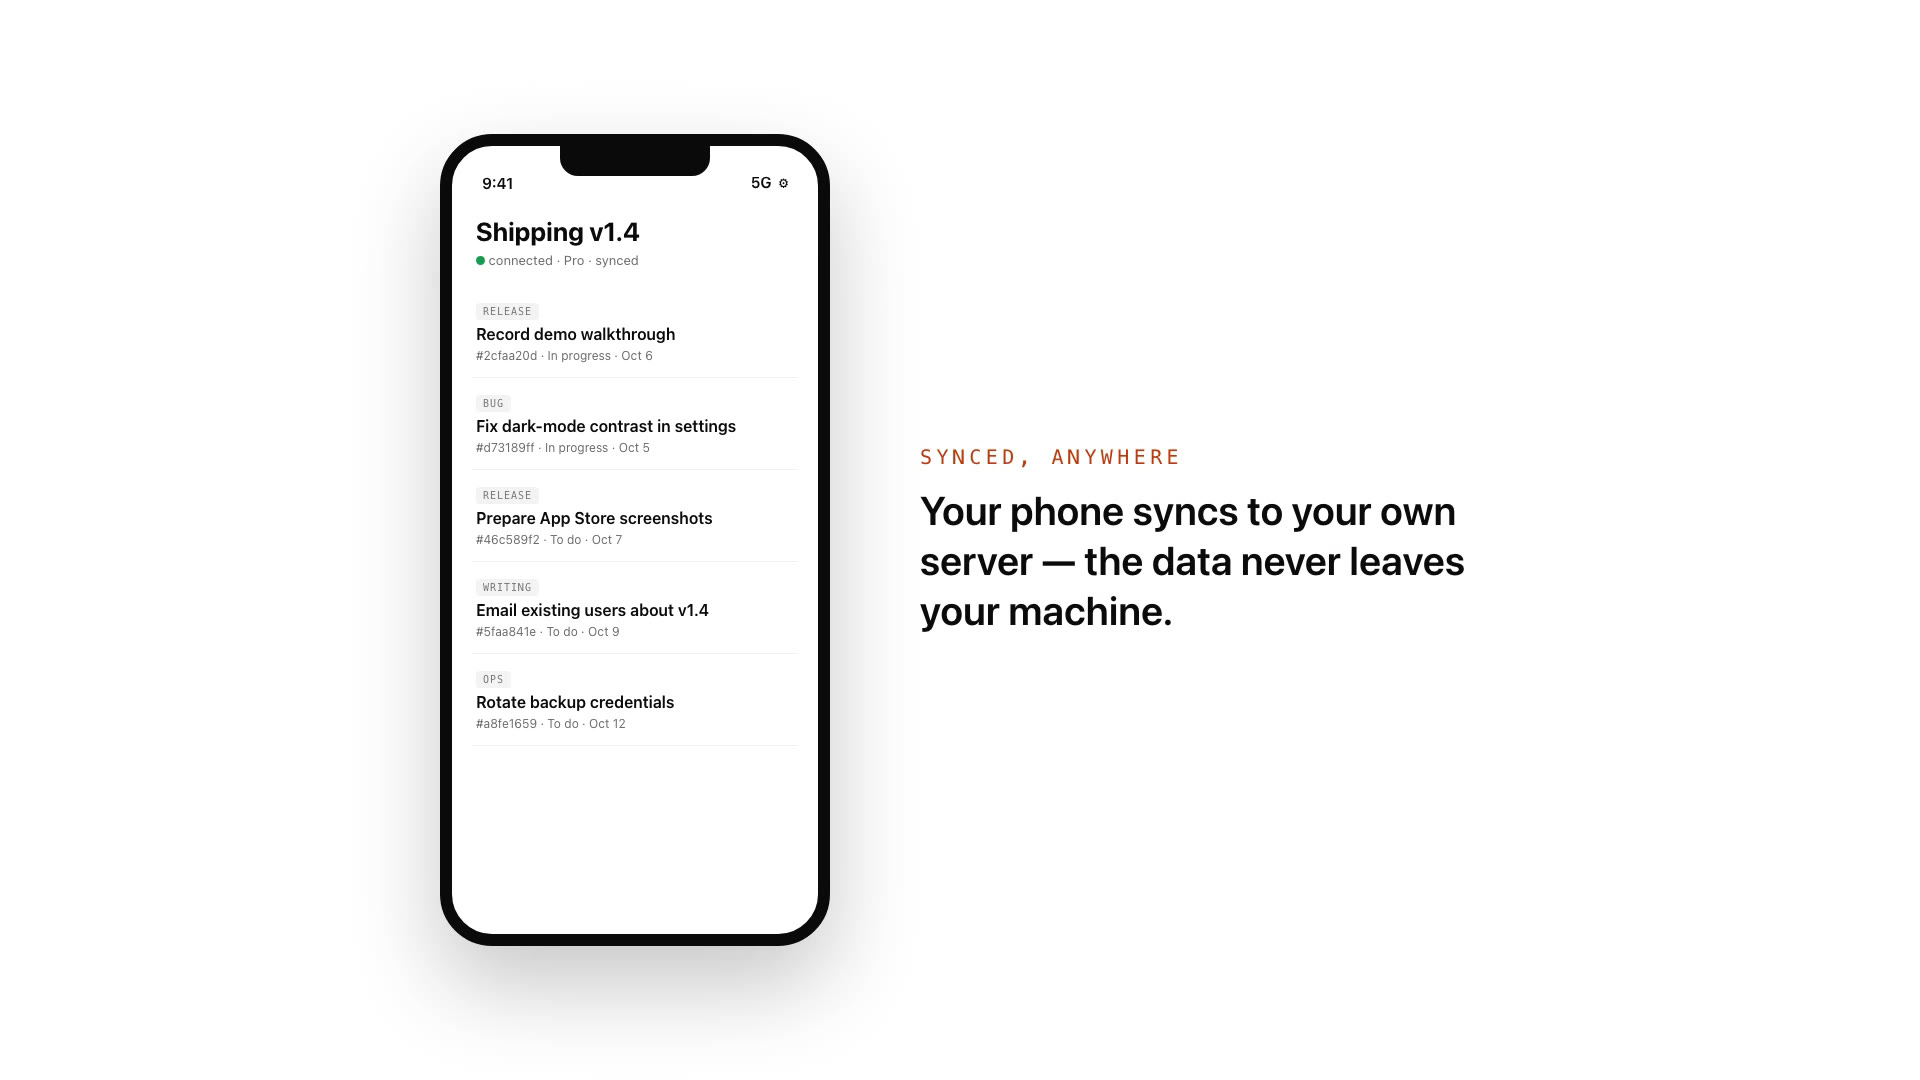
The app does not add /api/v1 for you. As you type, a status line checks the address; when it reads connected · Pro, the phone has reached the server on your desk. Save, then sign in with your admin email (or the account an admin created for you). On the Personal tier, use the username and password from the desktop profile page instead.
The phone now shows the same tasks, notes and ledgers as the desktop. Edit a task on the phone and the desktop has the change.
Not on a desktop?
The desktop app is one way to run the server. There are two more, both covered in the Self-Deployment Guide:
- Docker: an all-in-one image with the frontend and backend in one container, published for linux/amd64 and linux/arm64.
- Raw binary:
ud-server, published on npm with the web UI compiled into the binary, for macOS, Linux and Windows. It needs Node.js 18+ and no Docker.
What it costs
The server is your desktop and Cloudflare's quick and named tunnels are free, so the setup itself costs nothing, and none of it asks you to learn Docker. The one optional purchase is a domain for a fixed address. udctl is free for one person, with no license key, and free for a team of up to 3.
- Desktop app: udctl.com/download
- Pricing: udctl.com/docs/pricing
- License activation guide: udctl.com/docs/subscription-tiers